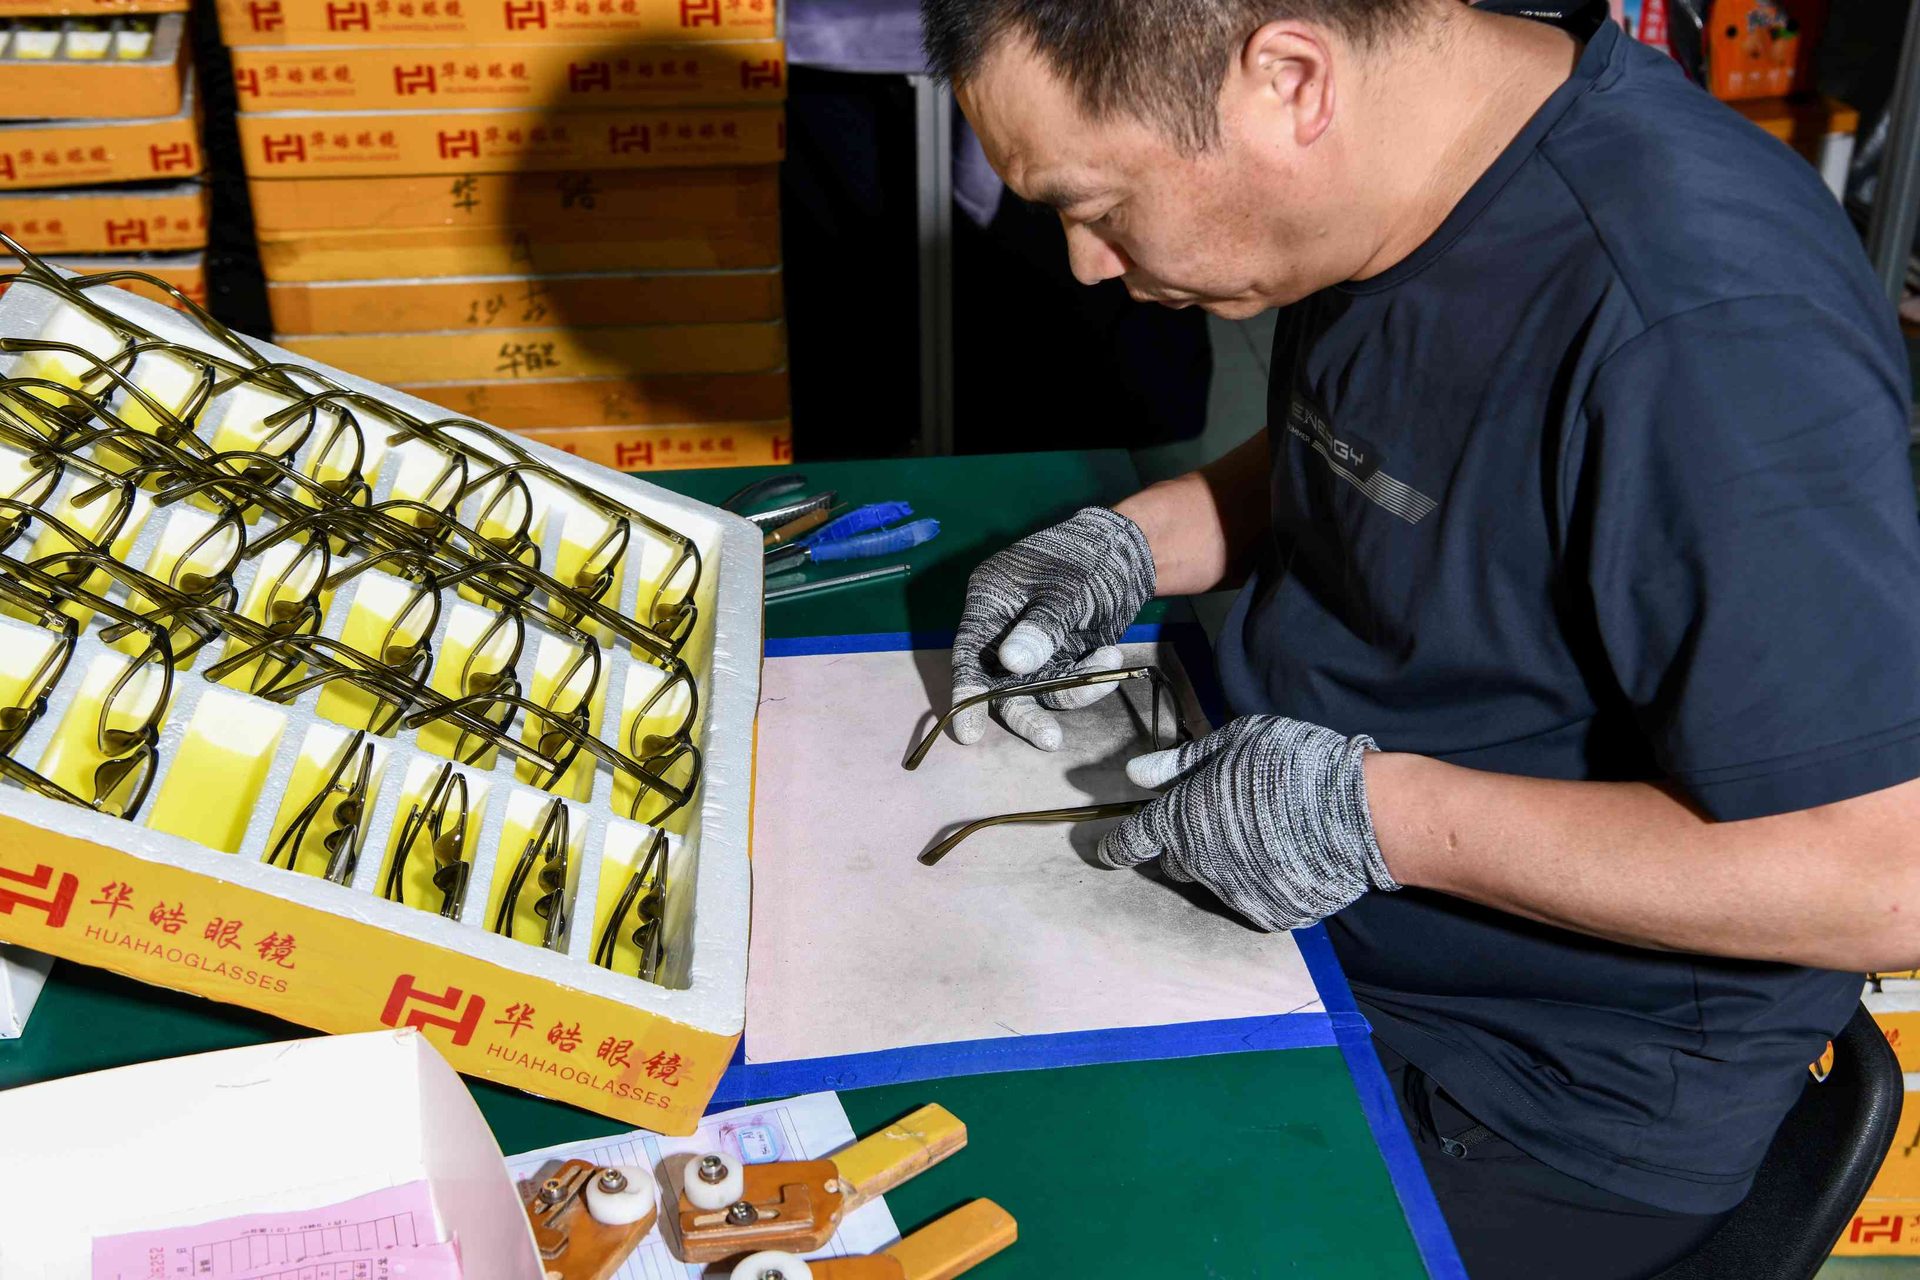
The temple—also called the arm or side—is the part that connects the frame front to the area behind the ear. It looks simple, but its geometry controls how the hinge opens, where the frame applies side pressure, when the bend reaches the ear and whether the finished glasses remain level.
Direct answer: specify an eyewear temple as part of the complete fitted frame. Define the measurement datum, hinge interface, opening angle, spread, bend point and curve, material and section, core wire or metal structure, tip, decoration and test plan. Approve left and right temples on a production-intent frame front, with the intended lenses, rather than accepting a nominal length or a loose component alone.
Separate the measurements that buyers often call “temple length”
The familiar size code may include a temple length such as 140 mm, but that number does not describe the full fit. A drawing should distinguish the straight or developed length, the measurement path, the bend start, the drop behind the ear, the hinge axis and the end point. Curved, cable, paddle and deeply wrapped temples can share a nominal length yet sit very differently.
Use the eyewear size guide for the basic frame measurements, then add the temple-specific datums needed for production. Record both the designed geometry and the approved physical sample; do not ask a supplier to copy an unlabelled side view by eye.
Treat the temple as a fit system
| Variable | What it changes | What to approve |
|---|---|---|
| Hinge axis and endpiece interface | Temple position, closure and clearance | Drawing datums and assembled joint |
| Opening angle and temple spread | Side pressure and stability on the head | Measured frame plus fit review |
| Bend start and curve | Contact above and behind the ear | Side profile and wearer range |
| Section, material and core | Stiffness, weight and adjustability | Component specification and conditioning |
| Tip shape and material | Comfort, grip and edge safety | Finished tip, transition and surface |
A longer temple does not automatically solve a tight frame. The front may be too narrow, the opening angle may be too small, or the bend may begin too early. Conversely, excessive spread may make a frame slide even when its overall size appears correct. Evaluate bridge, front width, lens weight and temple system together.
Match construction to material and adjustment needs
Acetate temples often enclose a metal core inserted during production. Specify the temple material, core alloy or approved grade, section, surface condition, length, position, terminal shape and hinge connection. Define whether the decorative pattern or logo must align with the wire. Check for off-centre cores, breakthrough, bubbles, local thinning, cracks and distortion after heating or adjustment.
Injected polymer temples may use molded-in inserts, post-installed hardware or an integral hinge feature. Metal temples can be wire, sheet, tube or a formed profile with a separate sleeve. Mixed-material designs need an explicit interface: overlap, adhesive or mechanical retention, edge condition and pull or rotation check. “Flexible temple” is a product claim, not a complete material or performance specification.
Engineer the hinge, core and tip as connected interfaces
The hinge determines more than opening and closing. Its axis, leaf position, screw or pin, stops and clearances set the temple’s path. Choose the hinge using the eyewear hinge guide, then approve it in the actual endpiece and temple rather than as a catalog part.
For a separate temple tip, define material or compound, color, length, internal hole, overlap, end radius, surface, grip and retention method. Confirm that the transition has no sharp step and that the tip does not rotate, creep, discolor or expose the metal under the agreed use and conditioning checks. Any wearer-contact claim needs evidence appropriate to the final material and destination market.
Put measurable temple controls in the tech pack and BOM
At minimum, include:
- Left and right part numbers, revision and material.
- Length datum, section dimensions, hinge-axis location, opening angle, spread and bend profile.
- Core wire, insert or metal-arm grade, finish, position and retention.
- Hinge, screw or pin and mating-interface references.
- Tip material, color, geometry, overlap and surface requirements.
- Logo, pattern direction, color zones and cosmetic boundary samples.
- Critical-to-quality dimensions, test methods, tolerances and change rules.
Connect these fields to the eyewear bill of materials. If one size uses several temple lengths, give each combination its own controlled SKU or variant rule; do not rely on box labels to correct a mixed assembly.
Approve fit and function in a production-intent sample
Add these gates to the custom eyewear sampling process:
- Measure loose components against the released drawing and identify the cavity, tool or forming fixture where relevant.
- Assemble left and right temples with production-intent hinges, fasteners and operations.
- Check closed position, opening angle, equal spread, tip height, four-point alignment and clearance from the lenses and front.
- Fit the intended lenses and assess stability, side pressure, bend location and contact on the defined wearer range.
- Perform agreed opening cycles, retention, adjustment and environmental or chemical conditioning suitable for the construction.
- Recheck motion, cracks, whitening, permanent set, finish, tip movement, screw security and dimensions.
- Release a golden sample together with measurable limits and all component and process revisions.
Do not publish one universal bend angle, pull force or cycle count for every frame. The responsible product team and qualified test partner should define methods and acceptance criteria for the design, intended use and market.
Control symmetry and adjustment in bulk production
Incoming checks should confirm materials, core wires, inserts, tips, hinges and finishes against the released parts. During assembly, use controlled fixtures and adjustment methods so operators do not hide dimensional variation by over-bending individual frames.
Final inspection should compare left and right geometry, hinge seating and motion, opening and closing, temple spread, bend, tip height, frame level, lens clearance, sharp edges, surface, logos and packing size identity. Add these points to the pre-shipment inspection checklist. Trace any change to material, core, tool, fixture, hinge, tip or coating to a reviewed release and an identifiable cut-in lot.
Send an RFQ suppliers can answer without guessing
Provide the frame drawing and 3D data, target wearer and size range, front and lens configuration, temple construction, materials, hinge and hardware, required adjustment, colors and branding, test plan, destination markets, quantities by SKU and sample stages. Ask suppliers to state assumptions, production route and proposed alternatives.
Chemical restrictions, wearer-contact requirements, mechanical tests, labeling and rules for children’s, sunglass, protective or prescription products vary by product class and destination. Before production, have the responsible importer, qualified laboratory or compliance adviser verify the current requirements and evidence plan for every target market.
Discuss a production-ready eyewear temple specification with HAO Eyewear.