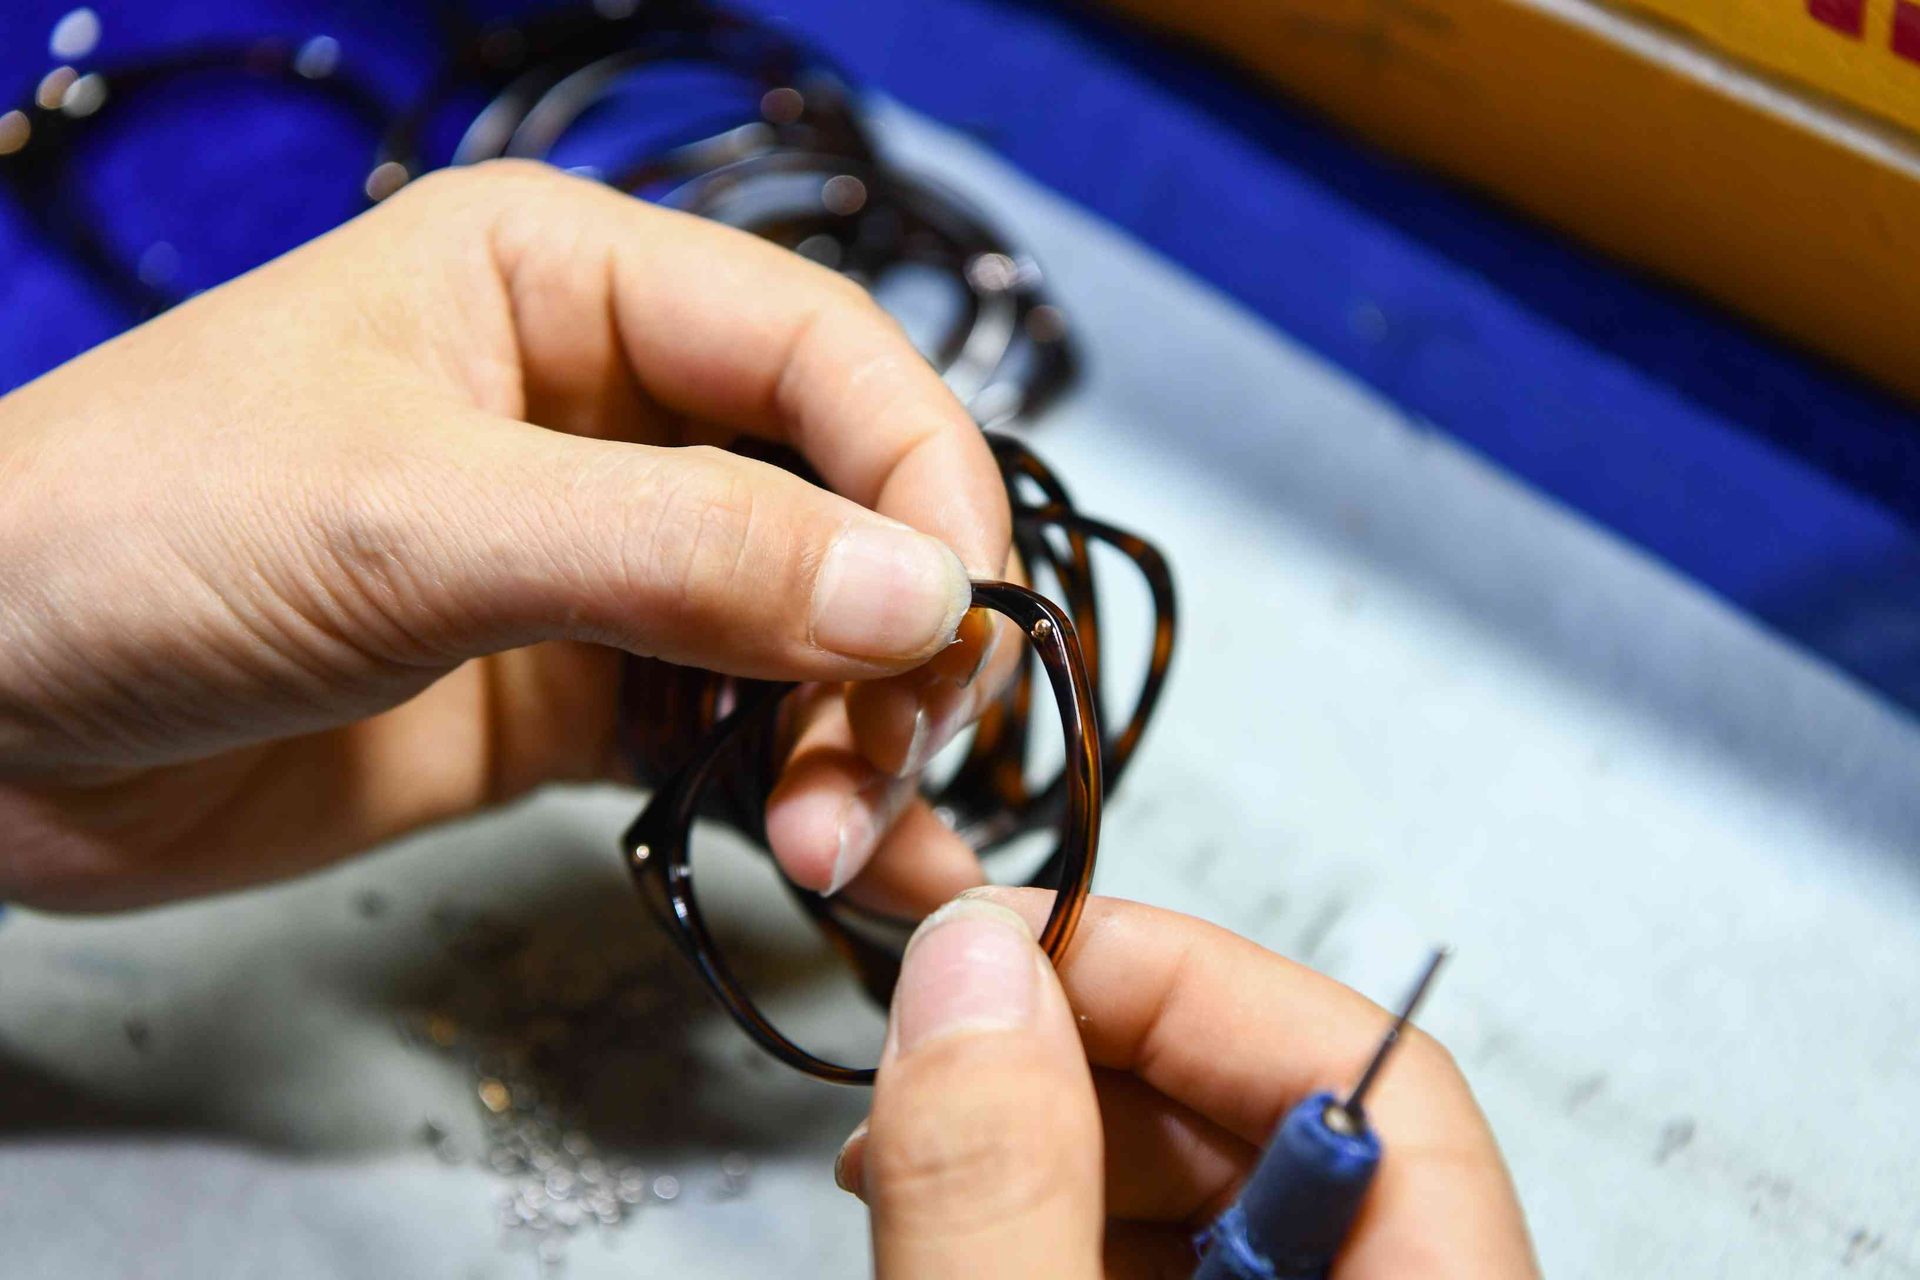
A screw can cost very little and still stop an entire frame from working. If it is too short, the joint may not retain. If it is too long, it may protrude or bottom out. The wrong pitch can damage the hinge, rim or nut before the difference is visible. “Standard glasses screw” is therefore not a production specification.
Direct answer: buy every eyewear screw as part of a defined fastening system. Identify where it is used, what it mates with, its complete thread and geometry, material and finish, how it is installed and retained, and how it will be serviced. Approve the assembled joint—not the loose screw—and control both sides of the interface under linked revisions.
Match the fastener to its job
| Application | What the fastener controls | Critical questions |
|---|---|---|
| Hinge screw or pin | Temple rotation, side play and serviceability | Does the shank act as a bearing? Is the end peened, patched or otherwise retained? |
| Eyewire or rim-closure screw | Closure of a metal rim around the lens | Does it develop enough closure without bottoming out, protruding or damaging the finish? |
| Nose-pad screw | Pad retention and intended articulation | Does it match the pad box and leave the pad free to move as designed? |
| Rimless mounting screw/post | Structural connection through a drilled lens | What nut, bushing, sleeve and washer stack is validated with the lens material and hole? |
| Trim or component screw | Attachment of a logo, shield or functional part | Is it load-bearing, removable, skin-contacting or exposed to sweat? |
These parts are not automatically interchangeable. The eyewear hinge guide explains joint types; the rim-construction guide covers the lens-retention system around rimless and semi-rimless frames.
Specify more than nominal diameter
A useful screw record should answer the following:
- Application and mating part: frame model, position, hinge/barrel, nut, threaded insert or pad box, with linked drawing revisions.
- Thread: defined system, nominal diameter, pitch, class or agreed fit and direction if nonstandard. Confirm with the intended female thread rather than a ruler alone.
- Length and sections: state where length is measured; define full length, threaded length, shoulder or bearing section, under-head geometry and tip.
- Head and drive: head diameter/height, countersink or seating face, slot/cross/recess geometry and matching tool.
- Material and surface: base material, heat treatment if relevant, finish, color and any chemical or corrosion requirements.
- Retention and assembly: pre-applied patch, mechanical feature or other system; installation tool, process setting and any inspection after assembly.
- Identity and service: supplier/item code, revision, approved alternatives, packaging/lot identity and replacement-part code.
Put those fields into the eyewear bill of materials and the component drawing. A photograph is helpful for orientation but cannot reveal thread pitch, material or fit tolerance.
Treat screw and female thread as one interface
The same screw can behave differently in two hinges because the female thread, barrel alignment, plating buildup and available depth are different. Check the real production pair. A screw should enter without cross-threading, seat where intended, provide the required movement or clamp, and remain serviceable without damaging adjacent surfaces.
Do not use tightening force to correct misaligned barrels. Excessive force can deform a drive, strip a thread, compress a hinge until it binds or load a rimless lens. Equally, a free-turning screw is not proof of good fit; it may have insufficient engagement.
Choose a validated retention method
Reliable retention begins with geometry: matched threads, adequate engagement, concentric parts and repeatable seating. The product may then use a design-specific method such as controlled end deformation, a prevailing-torque feature or a compatible pre-applied locking patch.
Any chemical locking system must be approved with the screw finish, mating material, plastics, coatings and service plan. Define amount, location, cure or waiting conditions and shelf-life control where relevant. Never let an operator improvise with consumer glue or nail polish. The nose-pad guide shows why even a tiny screw must be controlled with its complete mounting interface.
Approve the assembled joint during sampling
Add a fastener gate to the custom eyewear sampling process:
- Verify the screw and mating-part identities against released drawings and the BOM.
- Measure the agreed critical dimensions with suitable gauges or optical equipment.
- Assemble with the production-intent tool, bit, fixture and process setting.
- Check seating, head position, protrusion, clearance, lens safety, appearance and left-right consistency.
- Evaluate joint function: hinge movement and side play, rim closure, pad articulation or rimless alignment.
- Run the agreed cycle, retention, handling and environmental checks for the intended product.
- Disassemble representative units to inspect thread damage and confirm realistic field service.
- Seal an approved assembly and retain the screw, mating-part and process revisions together.
There is no single tightening value or cycle count suitable for every eyewear joint. Set the method and acceptance limit from the actual material, geometry, use risk and applicable product requirements.
Control incoming parts and assembly
At receiving, keep similar screws separated by item and lot. Confirm identity, finish and critical dimensions on a risk basis, and test fit in the approved mating component. During assembly, control driver condition, bit engagement, fixtures and settings; damaged bits can create burrs and cosmetic rejects even when the screw itself is correct.
Production checks should detect tilted or cross-threaded screws, proud heads, sharp or long tips, stripped drives, binding hinges, uneven temple play, loose rims, cracked lenses, missing washers and finish damage. After the agreed cycling or conditioning, repeat the functional and retention checks. Add visible and functional points to the pre-shipment inspection checklist, while retaining process evidence from earlier stages.
Plan substitutions and after-sales parts
“Same size” is not an adequate substitution statement. Before changing supplier, material, finish, thread process, patch, head, drive or mating part, compare drawings, fit, assembly behavior, durability, corrosion behavior and serviceability. Record the cut-in lot and update the BOM, work instruction, spare-part list and repair guidance together.
For after-sales support, map every replacement to a model and location. Rimless constructions often need the complete matched hardware stack, not only a screw. Provide appropriate tools and warn service teams against forcing an unknown thread.
Chemical restrictions, nickel-release expectations, small-part provisions, mechanical tests and documentation differ by product class, wearer and destination. Before production, have the responsible importer, qualified laboratory or compliance adviser confirm the current market requirements for the finished eyewear; do not infer compliance from the screw material name alone.
For comparable quotations, send the frame drawings, fastening locations, mating components, required materials/finishes, retention concept, assembly process, tests, order mix and service strategy. Discuss an OEM/ODM eyewear hardware specification with HAO Eyewear.